Saturday 29 July 2017

Old Chap Z-fold

Hello lovely peeps and welcome to my new email follower :o)


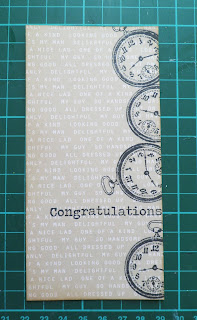
 This is the z-fold card that I made for my brother-in-law's 50th.

I used papers from the Teresa Collins 'He Said, She Said' 6x6 pad and the largest piece with the clocks is from the Winnie in Wonderland collection by Polkadoodles.
Each piece is edged with Frayed Burlap Distress Ink.

I stamped down the side of the middle panel with the clock and greeting in the Chronology stamp set from Papermania - I think it was a freebie in the Docrafts Creativity magazine.


For the speech bubbles I used a Sizzix die - Modern Surrealists "Thought Talk Bubbles" - and stamped in the words with Black Memento. The Happy Birthday is a Lili of the Valley stamp, the typed alphabet is from Hobby Art and the last one is Retro Alphabet by My Sentiments Exactly.


I mutilated the capital C stamp (you get two of them) by cutting the bottom a little because it was looking like a G to me.


The pointy finger is a Tim Holtz Movers & Shapers die - I shaded the shirt cuff with distress ink using the edge of a piece of card, then coloured the suit cuff with an alcohol marker.


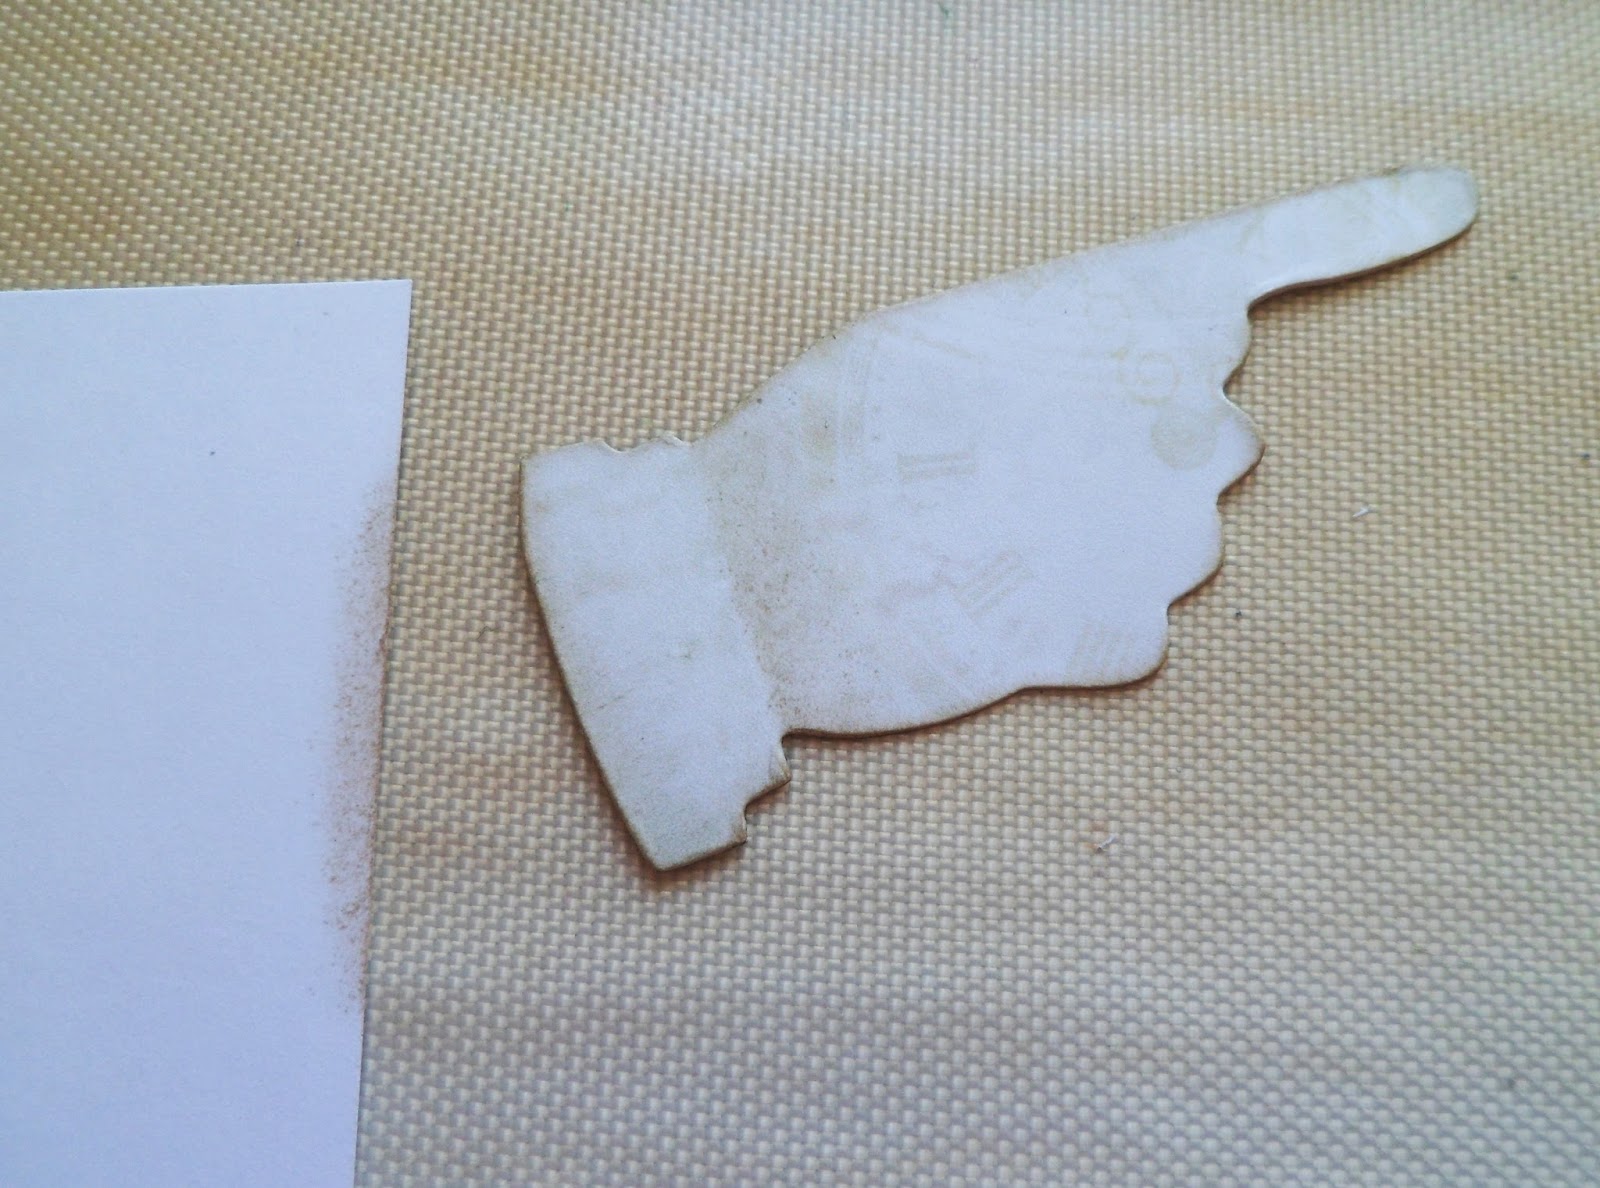
The numbers are from the Tonic Squeezebox set of dies.


I would like to enter this in the following challenges:-
Crafty Catz #381 Anything Goes option not a card
Sisterhood of Crafters  Boys to men
Penny Black and More  For the boys
The Crafty Addicts #38 Anything Goes opt HUMOUROUS
Love to Scrap  #99 Anything Goes 

Thanks for stopping by,
Katrina x

Wednesday 26 July 2017

Home is the Heart of Christmas

Hello lovely peeps


Just popping in to show you a wooden heart that I decorated with Leonie's Welcome Home stamps and an embossing folder.


The surface of my wooden heart was a bit rough so I covered it with watercolour paper and sanded the edges down with an emery board


Next I painted on a layer of Daler Rowney Zinc Mixing White and then mixed some of this with drops of  'arctic' glitter brush pen from Leonie's Frosty Christmas set onto my craft mat.


I brushed this on with rough horizontal strokes, with some more Zinc white added in to give the impression of a cloudy sky


Near the bottom I stamped on some of the tiny trees from the Welcome Home stamp set with Black Archival ink and then coloured them in with a white gel pen.


I stamped one of the large houses onto more watercolour card and coloured it in with Begonia and Slate Spectrum Aqua Markers (plus the arctic glitter pen for the windows)


I covered the bottom of the heart with a small piece of card that I embossed with the Dotty Days folder and then glued the house on with the steps overlapping the embossed area.


For the sentiment I inked up one of the phrases from the Christmas Greetings set but masked off the 'Home' at the beginning. Instead I used the 'h 'o' 'm' 'e' stamps from the Welcome Home set.


I chose dotty white organza ribbon to hang the heart from, to match the embossed card at the bottom.

I would like to enter this in the following challenges:- 
Let's Craft & Create Challenge #127 Just beachy/red, white blue
Pile It On #132 Primary colours
Crafting By Designs Get ready for Christmas

Thanks for stopping by,
Katrina x

Tuesday 25 July 2017

Bauble Tree on Throwback Tuesday

Hello lovely peeps


You may have spotted this one on Hochanda again recently - it's a really quick card made with Leonie Pujol's Entwined Christmas Tree collection - great for batch making.


I was going for a CAS card, so used the Baubles die on it's own rather than entwine it with the base. I cut the tree from green patterned paper and glued it to a 6x6 card before covering all of the circles with colourful card candi.

For the border I inked one of the stamps in the Christmas Borders set with Black Memento ink and stamped around all four sides of the card.

Thanks for stopping by,
Katrina x

Monday 24 July 2017

Bunnies Post Box for LOTV on New Release Day

Hello lovely peeps


Hooray! It's release day - the lovely new Lili of the Valley Christmas stamps are available now on the website, with some special prices for 48 hours.

For my final inspiration card I have used Bunnies Post Box.
Aren't they sweet with their armfuls of cards?

After printing the digi version off onto Super Smooth 250gsm card, I die-cut the card using a large Sizzix tag die, then coloured the image in with Promarkers (named) and Graph'Its (numbers)
fur: ivory, sandstone, caramel
snow: ice grey 1-3
post box: poppy, crimson
tree: forest green, bright green, 8250
blue scarf: cool aqua, duck egg
tree:  caramel, 3250
robin: sandstone, caramel, poppy 

The tree looked a bit odd ending  an inch from the top of my tag, so I extended it a bit by adding a pencil line


then colouring it in with my markers and finishing off with a black fineliner pen


The bottom half of my 6x6 card is covered with white card embossed with a snow texture embossing folder and the top half is a paper from the retired Twas the Night 8x8 pad (now available in digi format at Nitwit Collections)


To make the card for my stars I dabbed some Faded Jeans and Tumbled Glass Distress Inks onto my craft mat and spritzed with water before dragging some Sheena Stamping Card through it. I dried with a heat tool and repeated a few times to get some texture.


I edged the stars with Pumice Stone Distress Ink, added little white pearls and then arranged them with some die-cut snowflakes around the tag. The sentiment was stamped with words from the Christmas Wishes clear set (now available as digis)


I would like to enter this in the following challenges:-
Simon Says Stamp (Wed) We're seeing stars
The Ribbon Girls July any image 
C.R.A.F.T. #425 Christmas
Cut it Up #126 Christmas in July
Craft-Dee BowZ  CDB51 Anything Goes with a Handmade Bow
Christmas at Sweet Stampin' - Anything Goes
As You Like It Challenge pearls or gems and why - pearls - I'm not really a bling person so I prefer the matt finish of pearls, they are more subtle

Thanks for stopping by, I hope you will join me again tomorrow for Throwback Tuesday :o)
Katrina x

Saturday 22 July 2017

New LOTV Release - For Someone Special

Hello lovely peeps


Another sneaky peek today of one of the fabulous new stamps being released on 24th July (midday) at Lili of the Valley. This one is called 'For Someone Special'.

This is the digi version but I printed it at the same size as the rubber version (46%) onto Super Smooth white card and coloured it in with Promarkers and Graph'Its


Here's a close-up.


For my stocking embellishment I die-cut all the parts from 'Christmas Stocking' by Die-sire from white card and coloured them with grey/red markers before assembling the parts together. I attached a loop of brown twine at the back with extra strong double-sided tape.


I layered the main image onto a 6"x6" card with papers from a My Mind's Eye pad (old magazine freebie) and hung the stocking from a Woodland Branch die-cut (Memory Box). The sentiment is one of the Happy Circular Sentiments stamps from Lili of the Valley.


I would like to enter this in the following challenges:-
 Deep Ocean Challenge #159 Christmas in July
The Ribbon Girls July any image
Winter Wonderland Use a digi image
Star Stampz Challenge  Christmas in July
Come and Get It   Use 2 or more Designer Papers
Crafty Gals Corner # 132 Christmas in July
Little Red Wagon #403 Christmas in July


Please stop by again on Monday (launch day) if you can, when I'll be showing you my third and final card for the new release.

Thanks for stopping by,
Katrina x

Thursday 20 July 2017

Fairy Shaker for Leonie

Hello lovely peeps


Today's make is a shaker card that I made with Leonie Pujol's Christmas stamps.

First I stamped the fairy from the Fairy Godmother set onto watercolour card with Black Archival ink


I stamped it again onto copy paper and cut it out


before adding Zig 2-way glue onto the back and leaving it to go clear (so it is repositionable)


With my handmade mask in place I overstamped the wings


and wording from the Christmas Greetings set


After covering the wording and wings with more masks (small enough to fit on sticky notes this time), I stamped on stars from the Tree Time set.


Once all my stamping was done I wanted to add a Brusho background, so I removed the paper masks (which would have got soaking wet) and painted all the stamped areas in with Pebeo Drawing Gum


After wetting the background with water, I brushed on diluted Crimson Brusho crystals


then sprinkled on Purple Brusho crystals and spritzed with water


I dried it off with a heat gun, rubbed off the drawing gum and then left the card under a large stack of books to flatten it out overnight.


To colour the fairy in I used Spectrum Aqua markers -
Peach for the skin, Tan and Boulder for the hair, Charcoal for shading


and diluted Crimson Brusho for the dress, shoes and wording.


I cut the top part of the dress out using a craft knife - using a glass mat makes it much easier to cut


I added double-sided tape around the back of the aperture and then attached a square of acetate.


For the base card I glued some more watercolour card to a 6"x6" card blank (to go behind the aperture) and then added two layers of foam tape.


I added more foam tape around the edges for stability and then added little white stars into the well in the centre before attaching the front layer (the white stars did not show up at all on TV, I should have gone with pink :o)


To colour in the stars I mixed Lemon, Copper and Clear sparkle pens on my craft mat to get a light gold colour, then applied with a slightly damp paintbrush.


As I had removed the collar and heart earlier when I cut my aperture, I stamped, coloured and cut out another one to glue over the top of the acetate.

I would like to enter this in the following challenges:-
Simon Says Stamp (Wed) We're seeing stars
Catch The Bug   Christmas in July - Make It Sparkle
Crafty Gals Corner # 132 Christmas in July
Little Red Wagon #403 Christmas in July
Oddball Art Stamps  AG/ optional A sky full of stars 
 Brown Sugar #259 Colour  

Thanks for stopping by,
Katrina x

Tuesday 18 July 2017

Dinosaur Hanging on Throwback Tuesday

Hello lovely peeps


This week's unblogged make is a hanging that I made for Leonie Pujol's TV shows featuring her mixed media dies.

When I was looking at all the little triangles in Leonie's Mosaic set they brought to mind the spines on the back of a stegosaurus, so I thought I'd have a go at making a little dinosaur.  After looking at some 'how to draw' sites for children I sketched a dinosaur body onto white card and then scanned it in to my computer so I could resize it.  [If you would like a copy of this for your personal use please see my new Freebies page]

I printed it onto some watercolour card that I had coloured with Brusho crystals and then cut it out.


To decorate his body I inked up one of the stamps from the Gimme Texture set with Vintage Photo distress ink and stamped along the neck, back and tail.


For the spines I coloured some Sheena stamping card with distress inks and splatted on some water


then used several of the small triangles from the Mosaic set to die-cut the spines. These were then glued onto the back of my dinosaur cut-out.


For the background I painted some Kraft card with Titanium White acrylic and sponged on Forest Green paint at the bottom. This was then run through an 8"x8" Pebbles Embossing Folder


I sanded it back a little and smudged some Pebeo Empire Gold Gilding Wax around the edges before glueing it to a chipboard rectangle - this was a page from a Papermania Bare Basics Chipboard Album which I put new holes in so it would hang the other way.


For the wording I brayered distress inks onto some Clarity coated card, then cut it into strips


and stamped each part of the vertical sentiment from the Hey There Dreamer set, adding doodled lines around the edges of each strip.


For finishing touches I made a little red sun and a leaf for him to chew on using the Floral Bursts dies


Thanks for stopping by,
Katrina x